
|

|

|

|
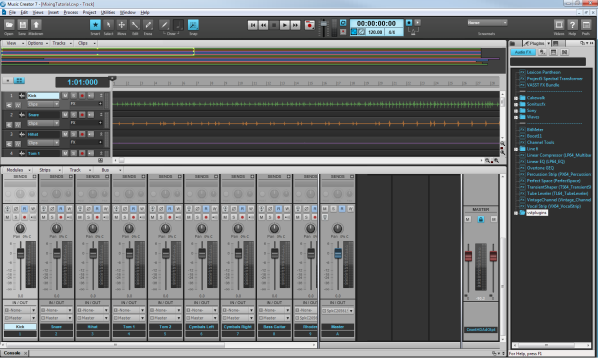
With the MixingTutorial project open, select Mix Song from the Screenset drop-down list in the Control Bar. Your screen should look like this:Let's play the project to listen to the song and to become familiar with the different parts and tracks. This song has twelve audio tracks and one bus. If you listen to the project as it is, you'll probably notice that it sounds “muddy”. This usually happens because all of the instruments are fighting each other for space in the frequency spectrum and stereo field. They're also all trying to be heard at the same level in the same location.Some people like to begin “mixing” by turning down every track and then gradually turning up one track at a time, starting with the rhythm section.For this tutorial, the rhythm section includes the following tracks:

Tip - Searching Documentation
Tip: To search for a specific topic, type your search query in the Search Cakewalk.com field at the top right of this page.
When the search results appear, click which product's documentation you would like to search to filter the search results further.
Note - Using Offline Help
Note: If you prefer to always use offline Help, go to Edit > Preferences > File > Advanced in your Cakewalk software and select Always Use Offline Help.
If you are not connected to the internet, your Cakewalk software will default to showing offline help until an internet connection becomes available.